Responsive Event Scheduler
plugin for WordPress
- created: 14-03-2016
- latest update: 06-01-2019
- by: 2code
- email: info@2code.pl
Thank you for purchasing our plugin. If you have any questions that haven't been answered by this help file, please feel free to email via our user page contact form here. Thanks!
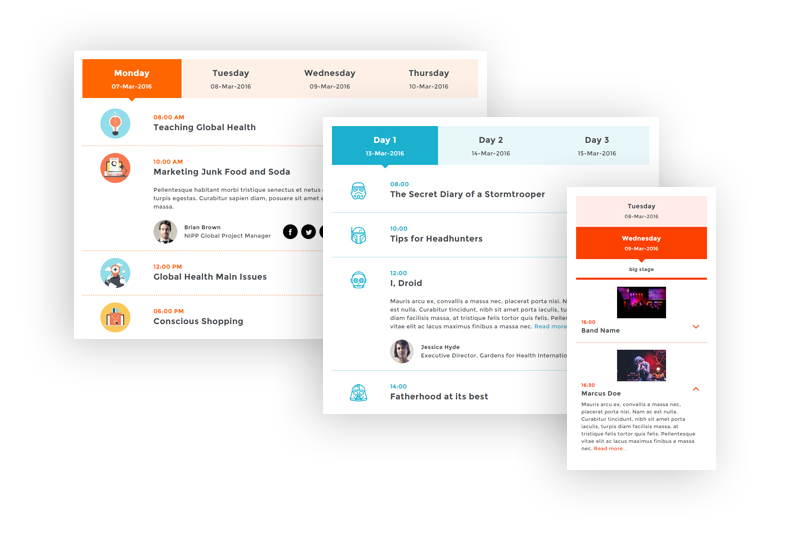
Event Scheduler for Wordpress is an effective plugin which will help you to create impressive schedules for your events of any kind in minutes. Is is suitable for building agendas for music festivals, conferences, conventions, meetings, trainings, exhibitions etc.
Event Scheduler for Wordpress is perfect for events thas last one or two day as well as for those wchich last for a week or even more.
Event Scheduler for Wordpress is much more than just a toneless timetable of happenings. By making possible to add images or icons to particular happenings your event schedule will be more attractive to read but also more meaningful and pesuasive.
Event Scheduler for Wordpress has a beautiful and clean layout that could be easily customized to suit your website design.
Here are some main features of Event Scheduler for WordPress
-
Easy to use for basic Wordpress users
-
Easy to customize
-
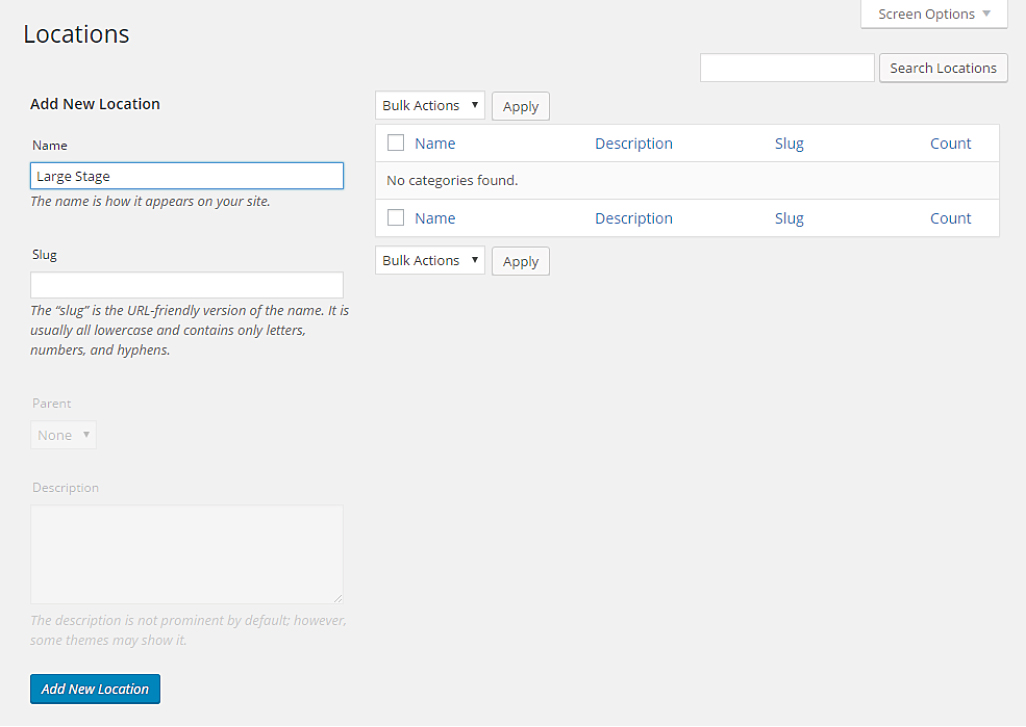
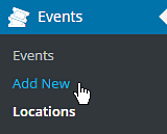
Multi-location events enabled
-
One-click color change
-
Responsive mobile friendly design
-
Nested accordions in mobile layout
-
Built with HTML5 and CSS3
-
Compatible with all browsers
-
Compatible with WordPress themes
-
Well organized
-
Smooth transitions
-
Touch friendly
-
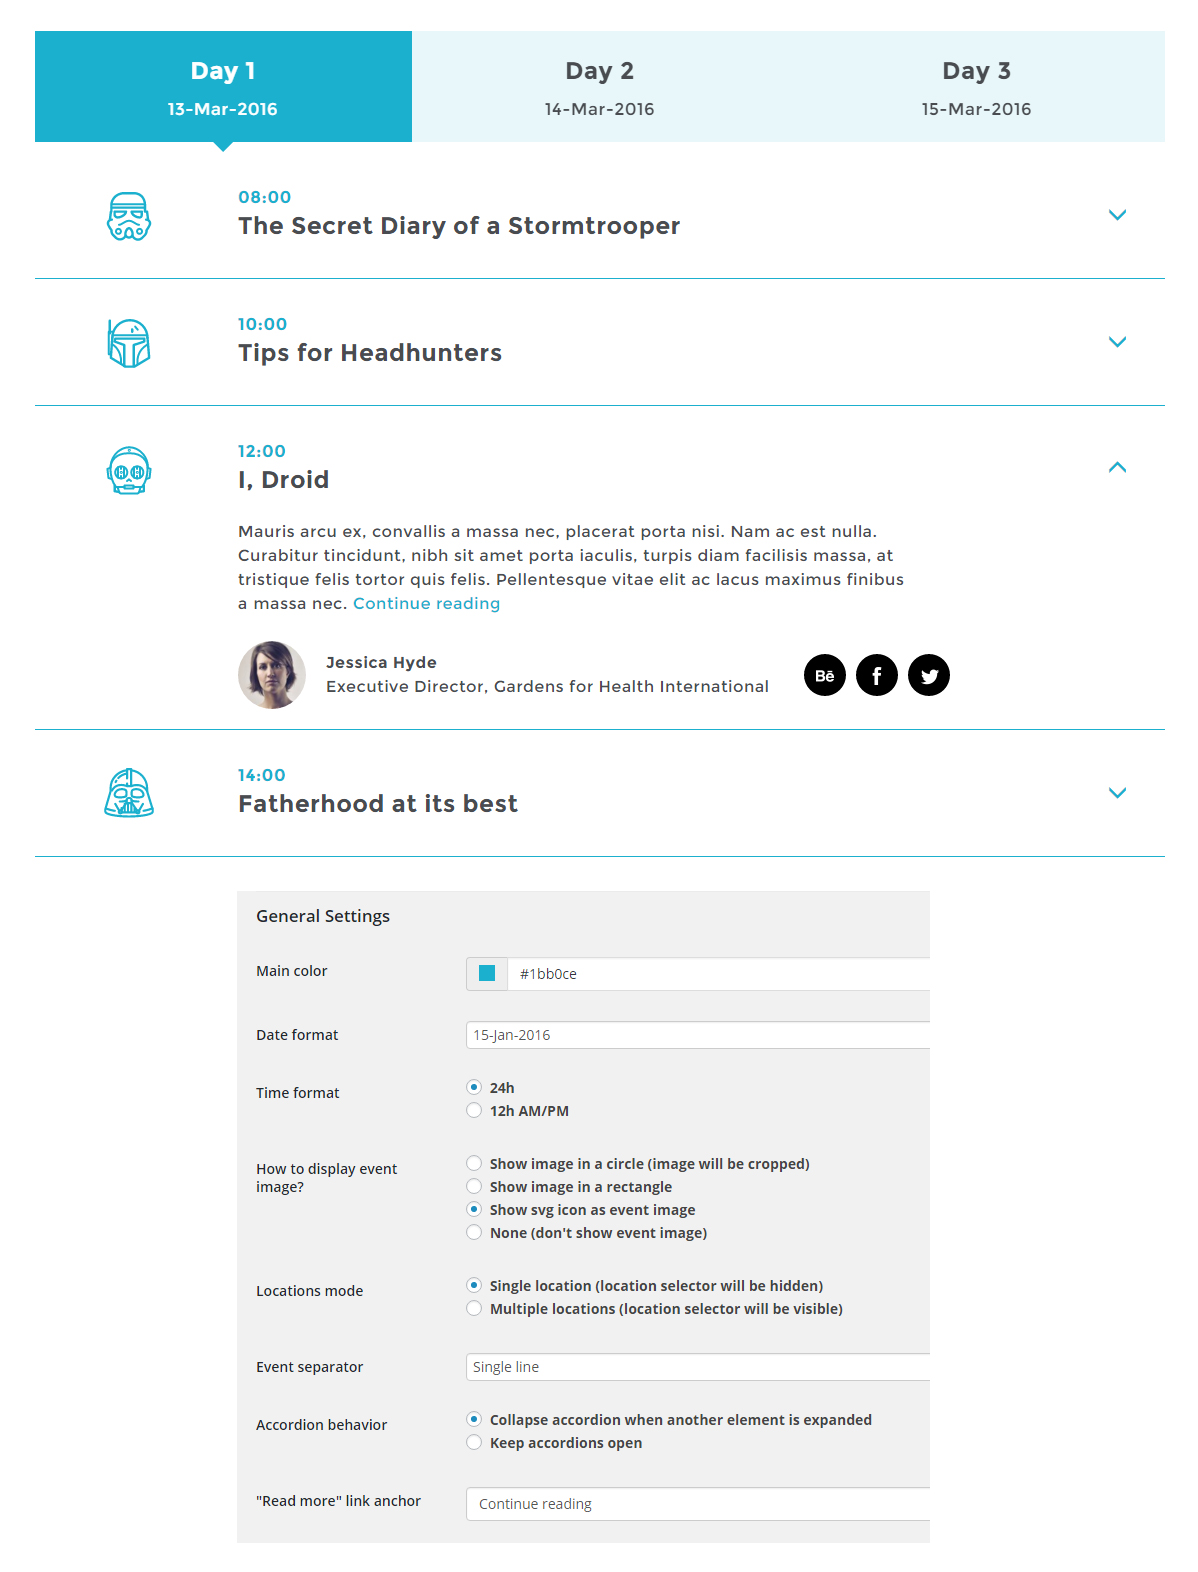
SVG icons enabled
-
Multipurpose
-
Flat design
-
6 demos
5.09.2016
-
ADD compact view
-
ADD week view (you can choose 5, 6 or 7 days to display)
-
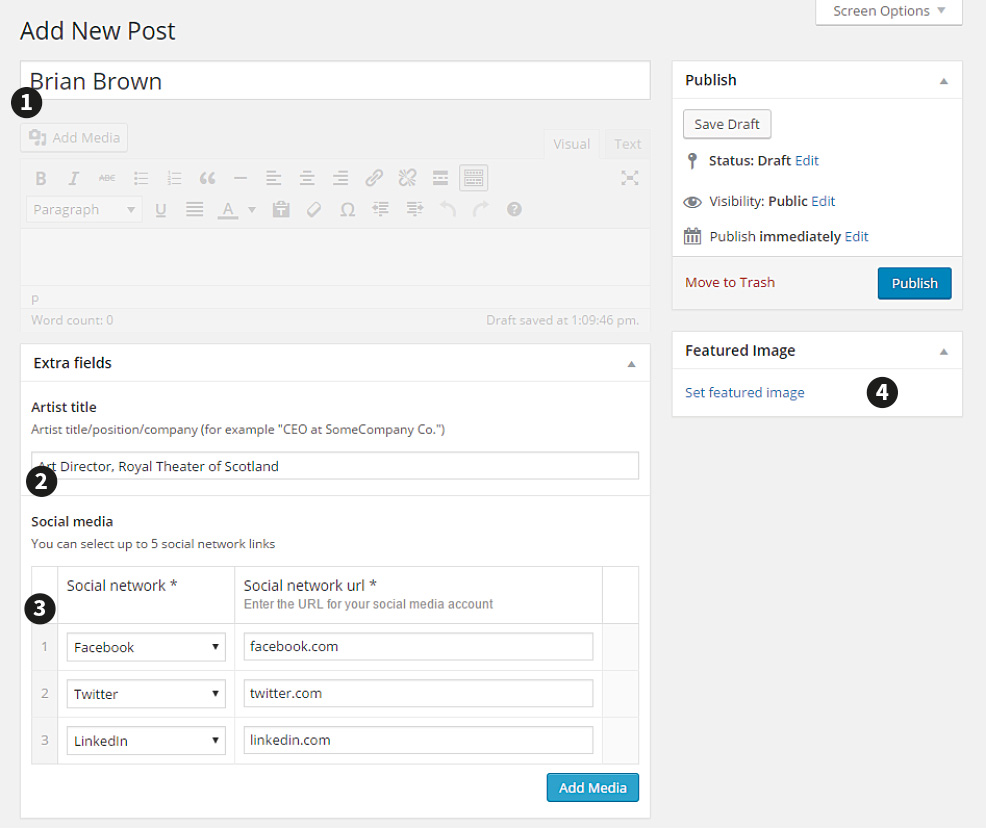
ADD author info/bio in a ligtbox
-
ADD multiple authors / speakars to one event
-
ADD event tiles styling (background color, font color)
-
ADD hide hour of the event
-
FIX minor issues
7.04.2016
-
ADD new setting - first accordion expanded
-
CHANGE module padding
-
CHANGE shape of accordions' arrows
-
FIX an issue with positioning the module below the paragraph texts
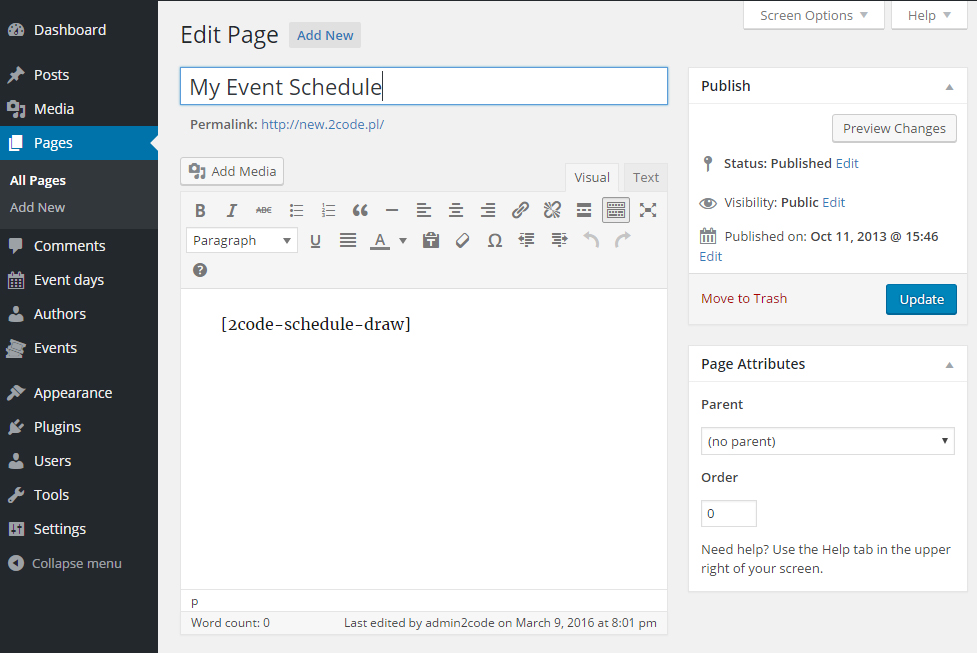
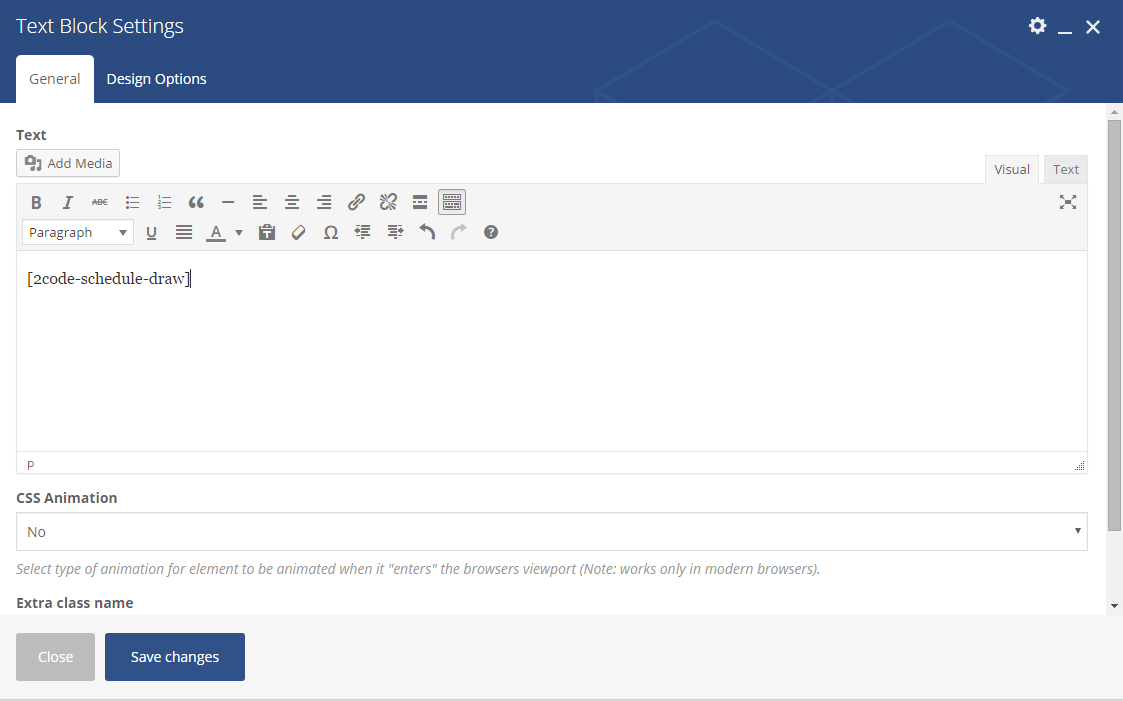
To install just follow the standard procedure
1. From left menu choose Plugins / Add New.
2. Then press the Upload Plugin button.
3. Press Choose file button and browse it on your computer (2code-event-schedule-v1_1.zip).
4. Once you’ve done this press the Install Now button.
5. Activate the Plugin.
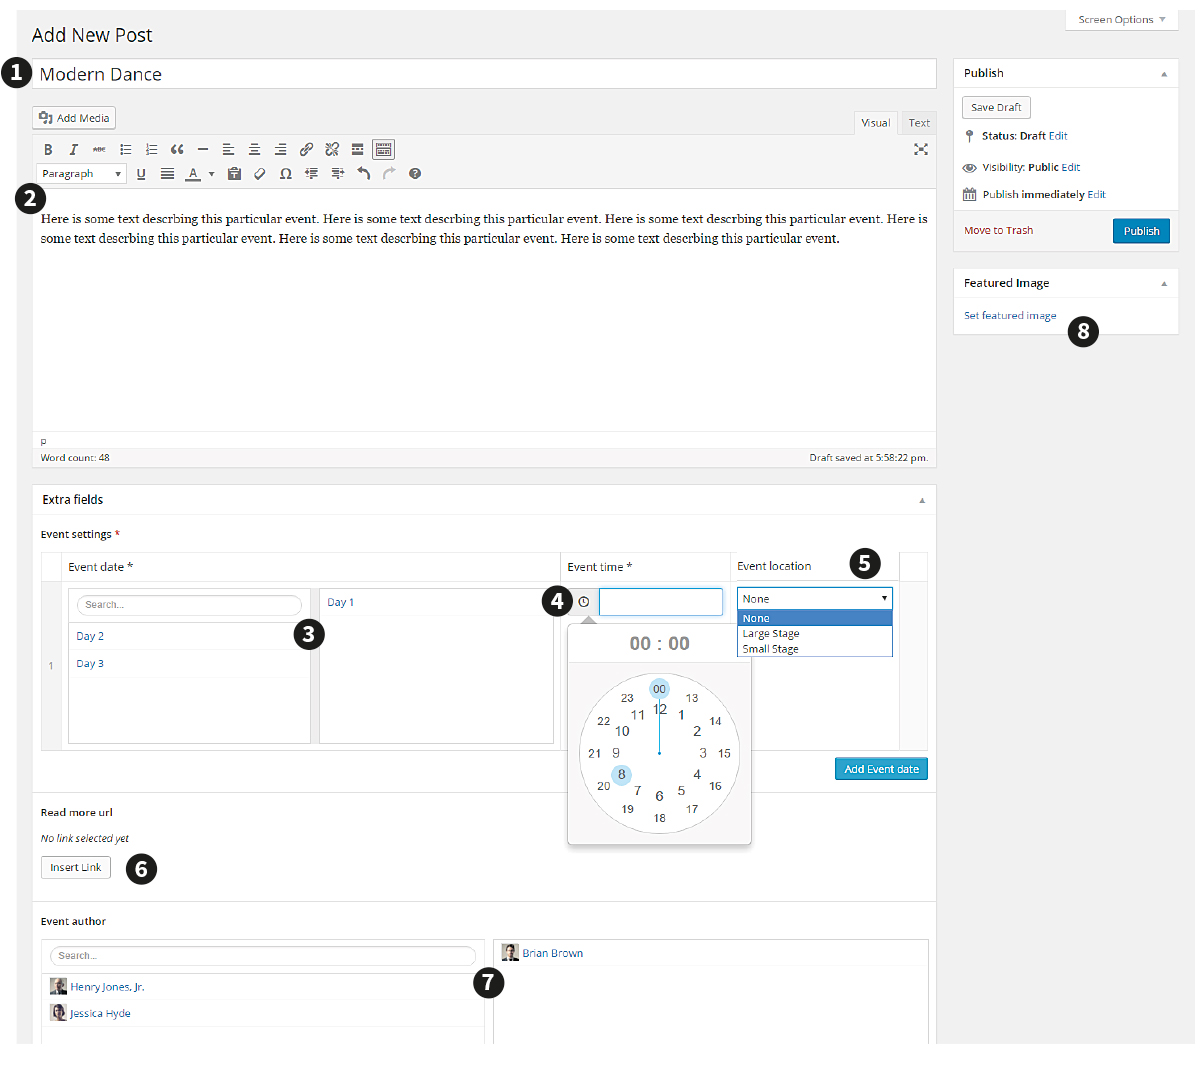
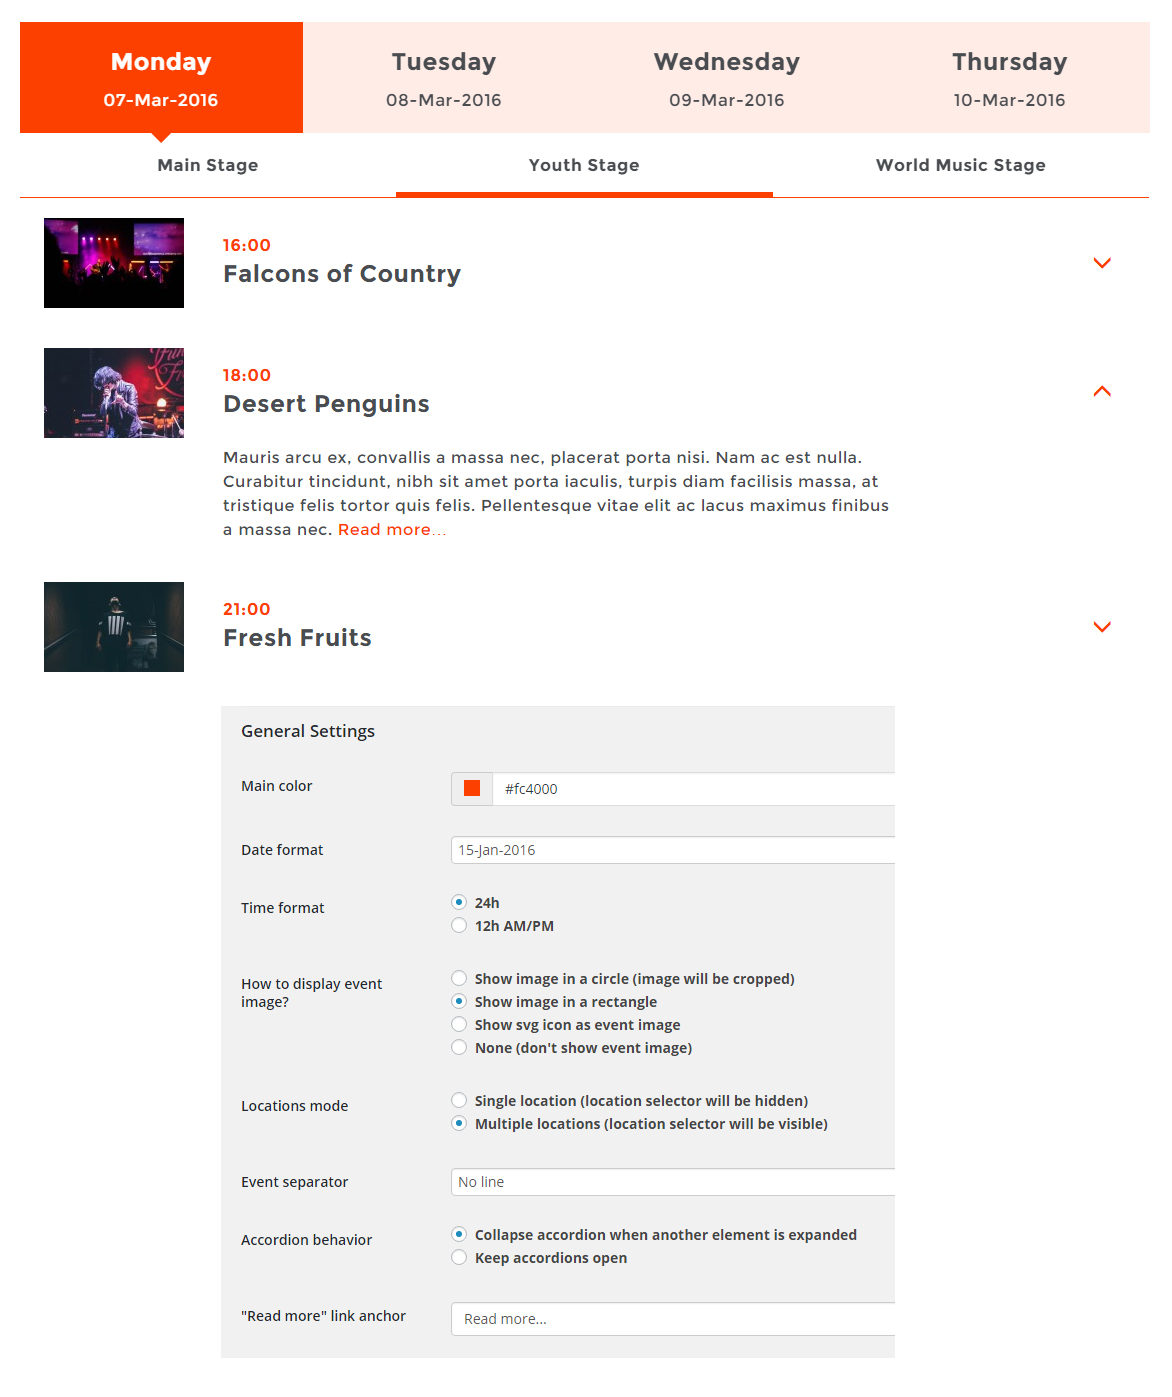
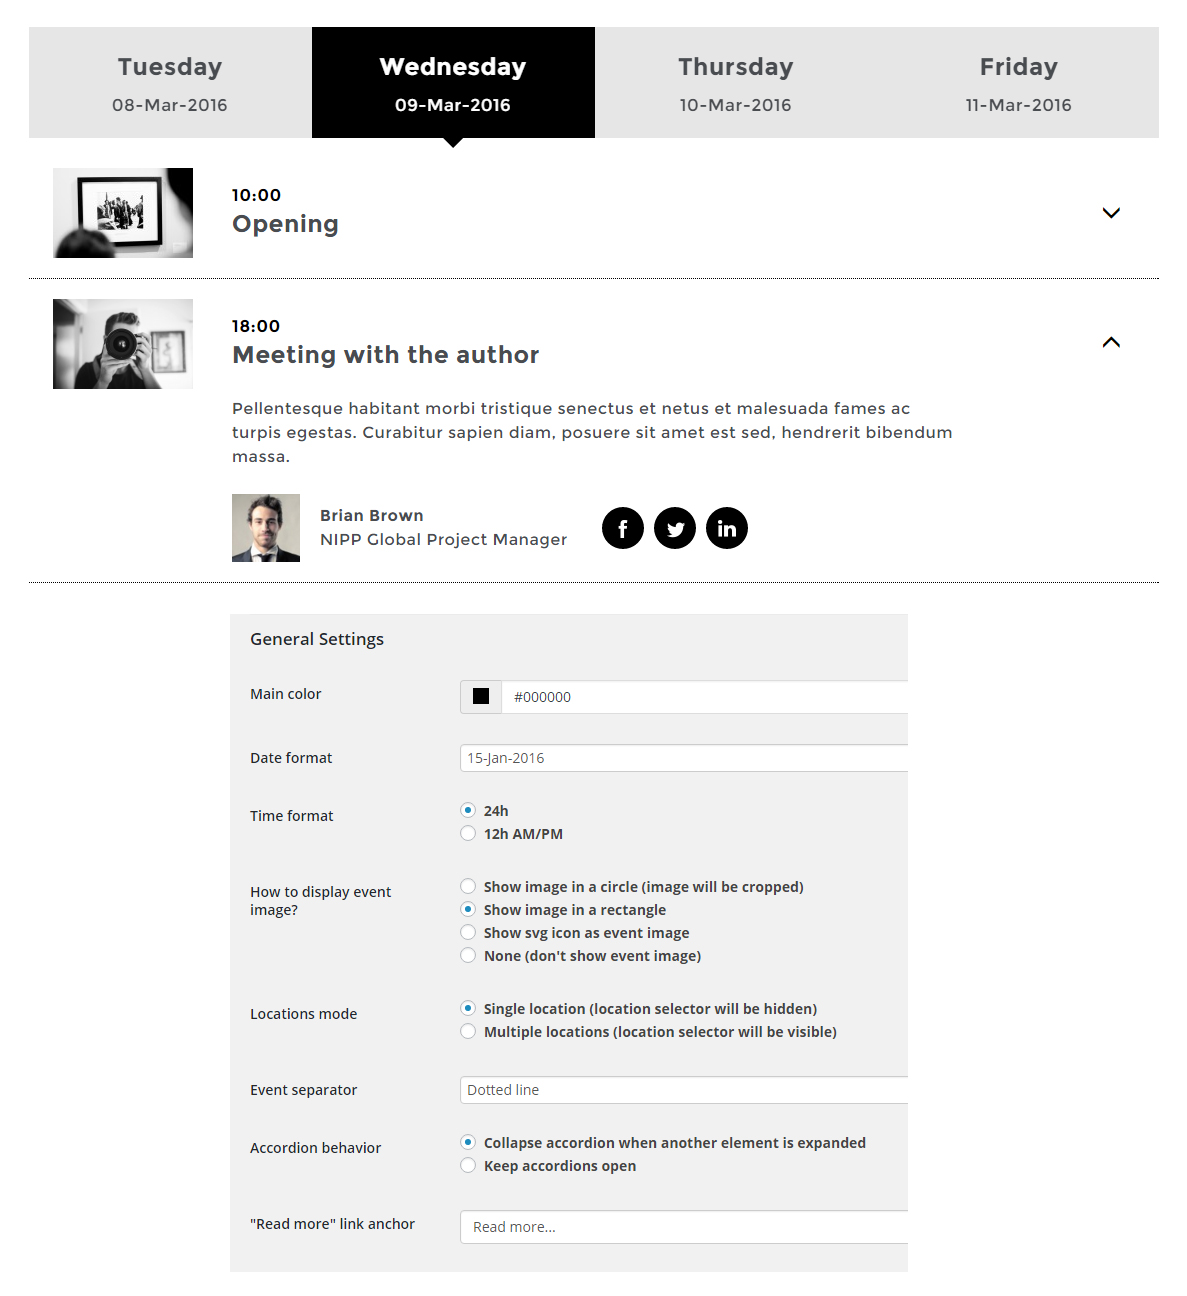
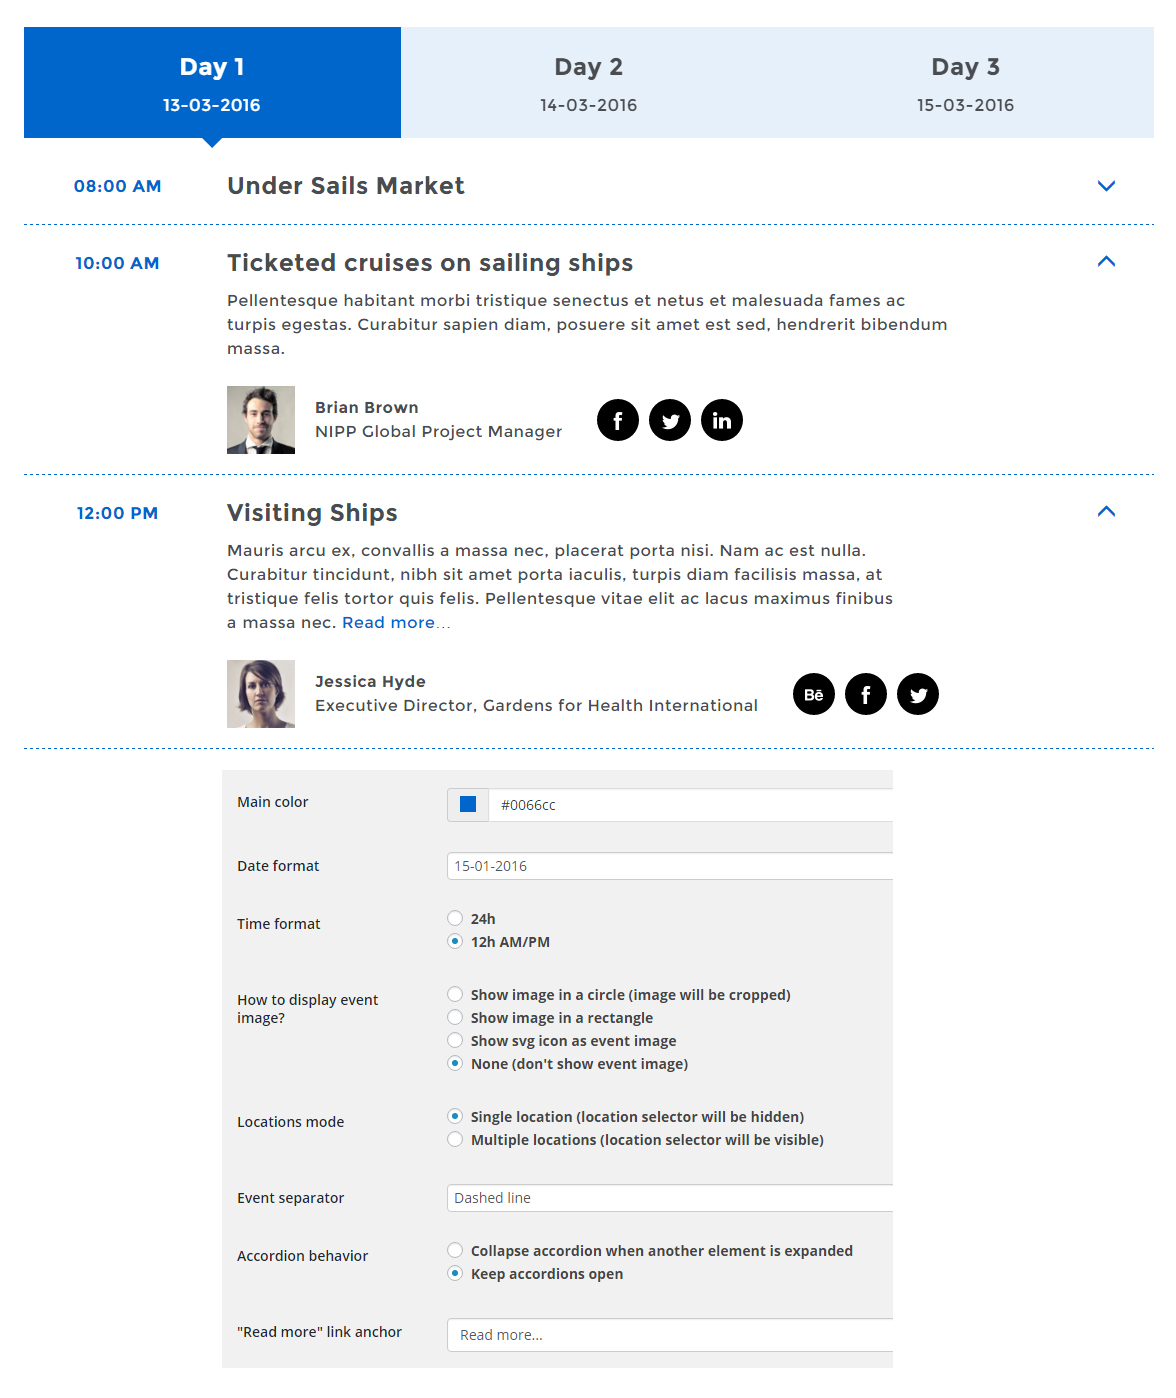
The Event Settings are divided into three section (styling, formatting, advanced) to customize the look and the features of the Plugin.
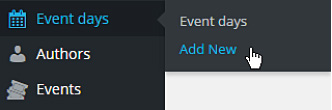
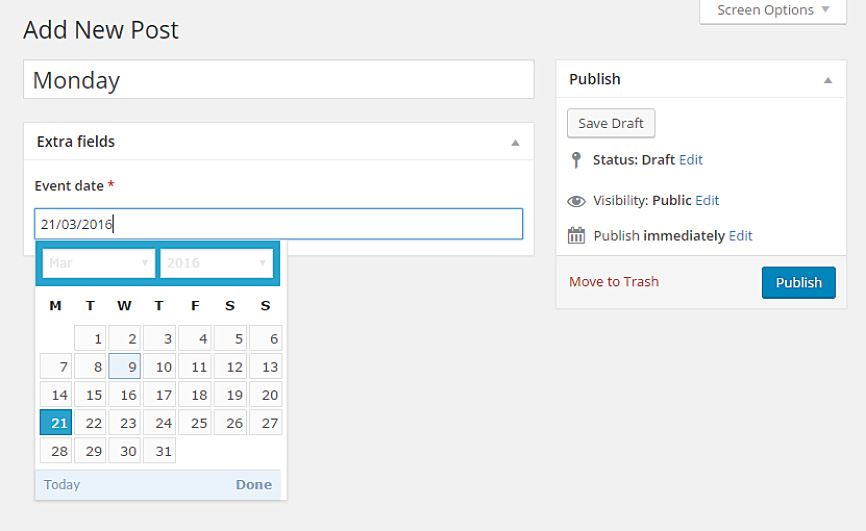
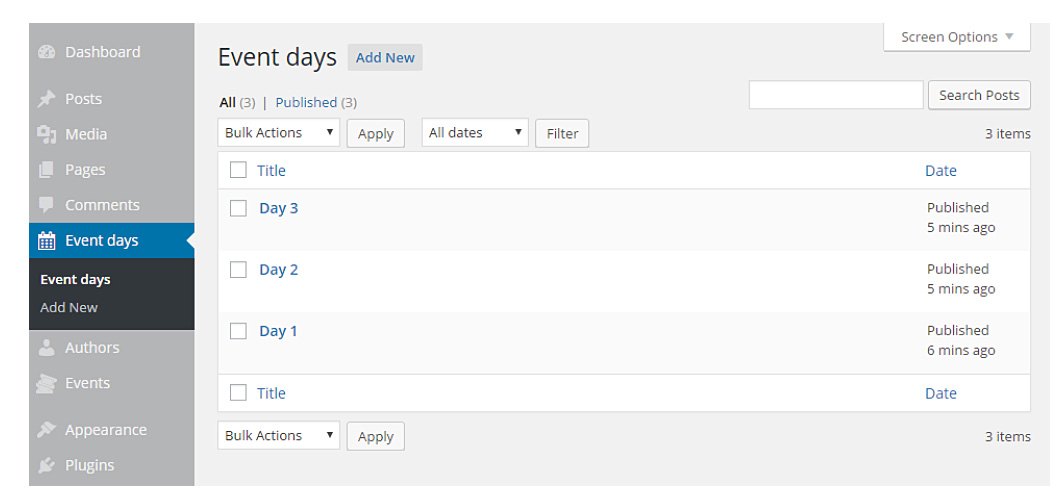
1. From left menu choose Event settings.
2. Change the plugin settings.
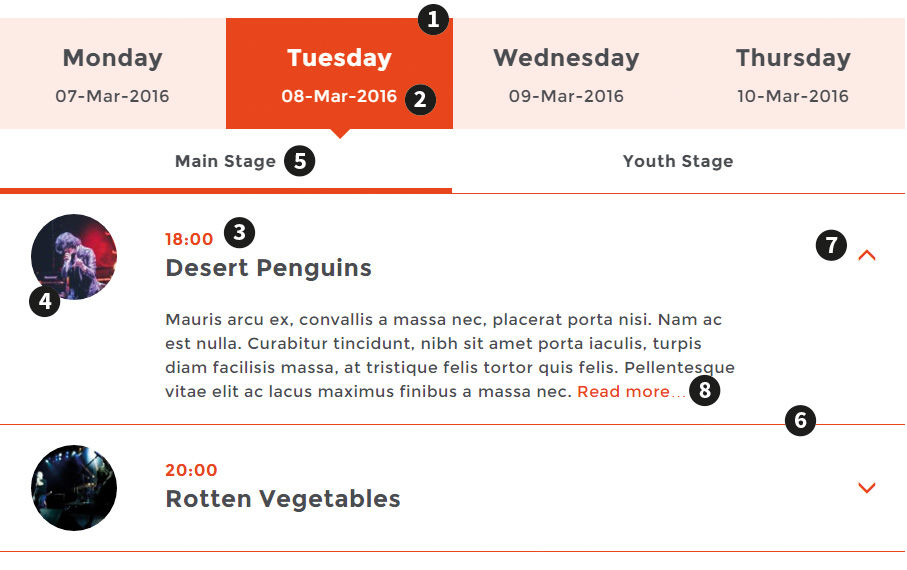
❶ Choose schedule size: Normal (default) with bigger tiles, images, fonts or Compact with smaller tiles, images, fonts.
❷ Choose the base color - dominant color of the scheduler.
❸ Decide on how to seperate event tiles. The options are: - Single line, - Dotted line, - Dashed line, - No line